How to Propagate Spring snowflake?
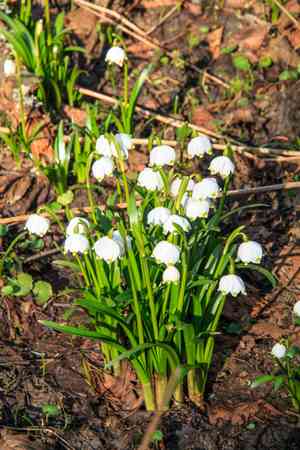
Leucojum vernum is efficiently multiplied through its corms. For vigorous development, carefully separate the corms once the blooming phase concludes. Place these separated corms into damp, adequately draining earth, ideally in dappled light to replicate their native forest environment. This practice fosters a strong root structure and abundant blossoms in future years.
Optimal Time for Spring Snowflake Propagation
Propagation Method
Utilize The Corms
Propagation Period
Spring
Tools for Spring Snowflake Propagation
Gardening Gloves
These safeguard hands during the excavation and handling of spring snowflake's corms, preventing skin irritation from soil and minor injuries, thereby ensuring secure and comfortable propagation procedures.
Trowel
A trowel is essential for carefully digging around spring snowflake corms without causing damage. Its appropriate size aids in lifting corms effectively and minimizes disturbance to surrounding roots.
Labeling Tags and Marker
Used to record the variety and planting date of spring snowflake's corms. Labeling assists in monitoring growth stages and organizing propagation batches, vital for systematic cultivation.
Watering Can with a Fine Rose
Ensures gentle watering of spring snowflake after corms are planted. The fine rose attachment reduces water force, minimizing soil erosion and disturbance to newly planted corms.
Potting Soil
Specifically, well-draining soil is recommended as it supports healthy root development for spring snowflake without waterlogging the corms. This contributes to a higher success rate in corm establishment and plant health.
Fungicide
This is particularly beneficial for treating spring snowflake corms before planting, reducing the risk of fungal diseases common in propagation environments. A fungicide ensures the viability and health of corms during and after growth.
Caring for Newly Propagated Spring Snowflake
Caring for Newly Propagated Spring Snowflake
After propagating spring snowflake, continue care by maintaining consistently moist soil and avoiding excessive watering. Protect new growth from extreme temperatures by mulching if necessary. Spring snowflake prefers partial shade, so ensure the planting site receives filtered sunlight. Fertilize lightly in early spring with a balanced fertilizer to support blooming. By mid to late spring, when foliage begins to die back, reduce watering and allow the plant to enter dormancy naturally, as this is crucial for the next season's growth.
Common Errors to Avoid When Propagating Spring Snowflake
Overwatering during dormancy
Overwatering spring snowflake during its dormant phase can lead to corm rot. Since the plant is not actively growing, excess moisture is not absorbed, increasing the risk of fungal infections and corm decay.
Planting too shallow
If spring snowflake corms are planted too shallowly, they may be exposed to surface temperatures and weather conditions that can harm developing shoots and roots, resulting in weaker plants or failure to thrive.
Ignoring clump division
Neglecting to divide spring snowflake clumps every few years can lead to overcrowding, which depletes nutrients and space available to each plant, reducing overall bloom production and health.
Tips For Propagating Spring Snowflake
Adequate depth planting
Ensure spring snowflake corms are planted at the correct depth, typically around three times the corm's height. This protects them from temperature extremes and provides sufficient space to establish a strong root system.
Moist but well-drained soil
Use well-drained soil for spring snowflake to prevent waterlogging, which can cause corm rot. While the soil should remain moist, it must also allow excess water to drain efficiently.
Timing of division
Divide spring snowflake clumps every 3-4 years to maintain plant vigor and ensure optimal flowering. Dividing helps rejuvenate plants and provides more room for individual corms to develop.


