How to Overwinter Canadian anemone
1
Canadian anemone tolerates frost and endures cold winters with appropriate attention.
2
Sufficient mulching helps prevent soil freezing and safeguards the plant's root system.
3
Monitoring soil moisture frequently in winter ensures the plant remains hydrated.
Understanding Canadian anemone Winter Needs
Understanding Canadian anemone Winter Needs
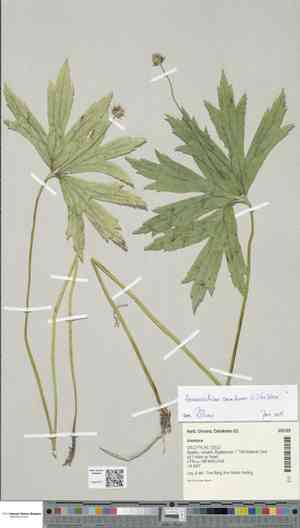
The Canadian anemone is a perennial plant indigenous to North America. Renowned for its lovely white blooms, this plant is remarkably robust and well-suited to cold climates. While it can endure frost, providing additional care can optimize its health and flowering potential for the subsequent growing season. Comprehending its winter requirements involves recognizing the significance of soil quality, hydration, and defense against extreme temperatures.
Preparing Canadian anemone for Winter
Soil Preparation
Soil preparation is crucial before winter arrives. Canadian anemone thrives in well-drained soil rich in organic matter. Begin by clearing any weeds and debris from around the plant. Gently aerate the soil with a garden fork to enhance drainage and oxygen circulation. This helps prevent waterlogging, which can lead to root rot during colder months.
Adequate Mulching
Mulching is one of the most effective methods to safeguard Canadian anemone during winter. Apply a 5-8 cm (2-3 inches) layer of organic mulch, such as straw, leaf mold, or compost, around the plant's base. This layer acts as an insulating barrier, maintaining soil temperature and preventing rapid freezing and thawing cycles that can harm the roots.
Water Management
Properly watering your Canadian anemone before winter is essential. In late autumn, give the plant a thorough watering to ensure the soil has sufficient moisture. Avoid watering once the ground starts to freeze to prevent ice formation around the roots. Checking for adequate drainage is also vital; waterlogged soil can result in root diseases.
How to Protect Canadian anemone During Winter
Insulation Techniques
Insulating Canadian anemone can extend its lifespan and help it flourish. Beyond mulching, consider these tips: use burlap or frost blankets to cover the plant on particularly cold nights. You can also utilize gardening mats or insulating sheets for added protection. These methods minimize exposure to harsh winter winds and lessen the impact of freezing temperatures.
Winter Covers and Cloches
Winter covers and cloches can be incredibly beneficial for Canadian anemone. These simple yet effective tools function as miniature greenhouses, trapping warmth while still allowing light and air circulation. You can purchase commercial cloches or create DIY versions using plastic bottles or glass jars. Ensure these covers are securely fastened to withstand winter winds.
Monitoring Canadian anemone in Winter
Checking Soil Moisture Levels
Regularly checking soil moisture is crucial to ensure the plant does not dry out. Use a moisture meter or simply insert your finger into the soil up to the first knuckle. If the soil feels dry, take steps to provide moisture carefully, making sure not to over-water and cause ice build-up. Water sparingly to maintain optimal hydration levels.
Inspecting for Frost Damage
Frequent inspections can help you identify and mitigate frost damage early. Look for signs such as blackened foliage, mushy stems, or dry and brittle leaves. If you spot damaged areas, trim them back to healthy growth. This not only promotes new growth in spring but also prevents diseases from spreading.
When to Uncover and Transition Canadian anemone to Spring
Timing and Signs to Look For
Knowing the right time to uncover your Canadian anemone is crucial. Typically, late winter to early spring, when temperatures consistently stay above freezing (0°C or 32°F), is ideal. Look for signs such as new green shoots emerging from the soil or buds beginning to swell. These are indicators that the plant is ready to wake up from dormancy.
Gradual Exposure to Outdoor Conditions
Gradual exposure helps acclimate Canadian anemone to the changing weather conditions. Start by removing covers during the day and replacing them at night for a week or two. Gradually increase the time the plant remains uncovered until it's fully acclimated to outdoor conditions. This seamless transition helps reduce stress and boosts the plant's resilience.


