How to Propagate Perfumed spiderlily?
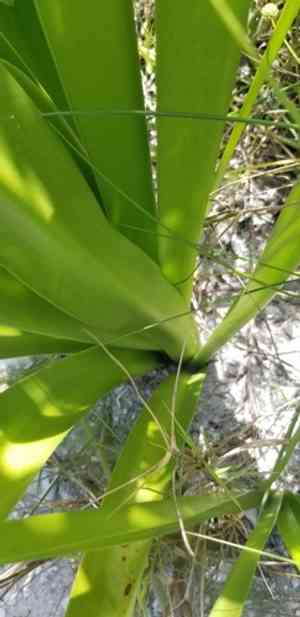
Hymenocallis is a remarkable botanical specimen recognized for its aromatic, pristine, arachnid-like blossoms. For propagation, utilize its underground storage organs as they guarantee uniformity and vigorous development. Insert these tubers into a substrate that drains effectively, allowing a small portion to remain visible above the ground. Provide sufficient moisture, yet guard against excessive saturation to avert decay. This method fosters thriving clusters, yielding the appealing flowers for which Hymenocallis is celebrated.
Optimal Time for Perfumed Spiderlily Propagation
Propagation Method
UtilizeTheTubers
Propagation Period
Spring
Tools Required for Perfumed Spiderlily Propagation
Garden Trowel
The garden trowel is crucial for carefully extracting perfumed spiderlily tubers. Its slender blade enables precise removal, minimizing harm to tubers and surrounding root systems.
Pruning Shears
Pruning shears are vital for trimming damaged or excess roots prior to planting tubers. This promotes healthy regrowth and lowers the risk of infections.
Bulb Planter
The bulb planter assists in creating the ideal-sized hole for planting perfumed spiderlily tubers. It ensures tubers are buried at the correct depth, fostering optimal root development.
Rooting Hormone
Applying rooting hormone to tubers can enhance root formation and boost the likelihood of successful propagation. It is particularly beneficial for encouraging quicker establishment of tubers.
Sterilized Potting Soil
Using sterilized potting soil is essential to prevent introducing pathogens or pests that could harm perfumed spiderlily. It offers a clean, nutrient-rich environment for tubers to grow.
Watering Can with Fine Rose
A watering can equipped with a fine rose attachment allows for gentle irrigation of newly planted tubers. It prevents soil erosion and ensures even moisture distribution without harming young roots.
Labeling Stakes
Labeling stakes are important for tracking planting locations and varieties of perfumed spiderlily. This aids in monitoring growth and caring for different specimens effectively.
Hand Fork
The hand fork is useful for loosening soil around tubers without causing damage. It promotes better aeration and drainage, crucial for the healthy development of perfumed spiderlily.
How to Propagate Perfumed Spiderlily?
Propagation Type
Simple
Post-Propagation Care for Perfumed Spiderlily
Post-Propagation Care for Perfumed Spiderlily
Following propagation, position perfumed spiderlily in a spot with bright, indirect light. Continue to water regularly, ensuring the soil remains consistently moist but not waterlogged. Observe for signs of new growth, typically appearing within a few weeks. Fertilize lightly once new growth emerges, using a balanced, water-soluble fertilizer. Shield from extreme temperatures and significant humidity fluctuations. Periodically check for pests and diseases, treating as needed to maintain plant health.
Common Errors to Avoid When Propagating Perfumed Spiderlily
Overwatering
Providing excessive water can lead to root rot, which can significantly impede the plant's growth and propagation success.
Improper Soil Mix
Using soil that retains too much moisture or drains poorly can suffocate roots, causing weak growth and potentially leading to fungal issues.
Insufficient Light
Placing the plant in an area with inadequate light can result in stunted growth and weak foliage, negatively impacting the propagation process.
Incorrect Depth
Planting bulbs too deep or too shallow can affect their ability to sprout and thrive.
Neglecting Pest Control
Failing to protect against common pests can damage the plant and reduce successful propagation rates.
Advice for Propagating Perfumed Spiderlily
Moderate Watering
Water moderately, ensuring the soil is moist but not waterlogged to prevent root rot.
Well-Draining Soil
Use a well-draining soil mix to avoid water retention and ensure healthy root development.
Bright, Indirect Light
Place in an area with bright, indirect light to promote robust growth and healthy foliage.
Correct Planting Depth
Plant the bulbs at the appropriate depth, about twice the height of the bulb, to ensure proper sprouting.
Pest Management
Regularly check for pests and treat promptly to protect the plant's health during propagation.



