How to Propagate Parry ceanothus?
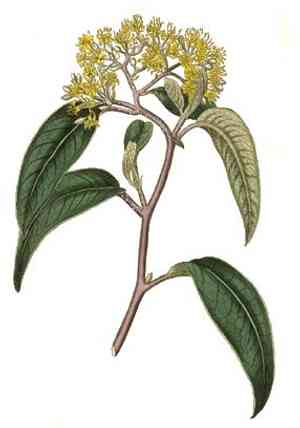
Parry ceanothus, a hardy species within the Rhamnaceae family, is recognized for its attractive, compact floral arrangements. To propagate this specimen via cuttings, choose robust, semi-lignified stems and permit them to form roots in a blend of perlite and sphagnum. Ensure consistent, moderate humidity and illumination to foster root formation. After rooting, transfer to a location with adequately draining soil. This technique guarantees vigorous development, aiding in the production of sturdy, thriving plants.
Optimal Time for Parry Ceanothus Propagation
Propagation Method
Cutting
Propagation Period
Spring,Summer
Equipment for Parry Ceanothus Propagation
Sharp Pruning Shears
These are vital for taking clean, precise cuttings from parry ceanothus. Sharp shears minimize plant tissue damage, reducing disease risk and promoting faster healing and rooting.
Rooting Hormone
Especially beneficial for parry ceanothus, rooting hormone aids in the development of roots from cuttings. This boosts propagation success by providing hormones needed to stimulate root growth.
Sterile Propagation Trays
These trays offer a controlled environment for parry ceanothus cuttings, ensuring they remain free from pathogens that could impede rooting. Sterility is crucial for preventing infections during the delicate rooting phase.
Misting Bottle
A misting bottle helps maintain high humidity around parry ceanothus cuttings, critical for preventing them from drying out before root development. Consistent moisture without waterlogging is key for successful propagation.
Propagation Dome
Used to cover propagation trays, these domes help maintain high humidity levels and consistent temperatures, which are crucial for parry ceanothus cuttings to root successfully.
Heat Mat
A heat mat placed under propagation trays can provide bottom warmth, promoting faster root development in parry ceanothus cuttings. Consistent warmth is especially beneficial during early root formation.
Clean, Sharp Knife
For making precise incisions in parry ceanothus plant material, a clean, sharp knife is essential. This helps create clean cuts, reducing tissue damage and promoting quicker rooting.
Labels and Markers
Important for tracking different batches of cuttings, including details like cutting date and specific treatments applied. Accurate labeling ensures better management and monitoring of parry ceanothus propagation efforts.
Sterilizing Solution
Used to clean tools and propagation trays before use, this ensures no pathogens are transferred to parry ceanothus cuttings, maintaining a sterile environment crucial for healthy root development.
How to Propagate Parry Ceanothus?
Propagation Difficulty
Moderately Difficult
Post-Propagation Care for Parry Ceanothus
How to Care for Your Newly Propagated Parry Ceanothus?
Once cuttings have rooted and been transplanted, maintain consistent watering to keep soil moist but not waterlogged. Parry ceanothus prefers well-draining soil and full sun to partial shade. Apply a balanced, slow-release fertilizer during the growing season for healthy growth. Lightly prune to encourage a bushier form and remove dead or damaged branches. Regularly check for pests and diseases, treating as needed to keep the plant healthy and thriving.
Common Propagation Errors to Avoid with Parry Ceanothus
Overwatering
Excessive watering can lead to root rot, which is detrimental to the plant's health and can cause cuttings to fail.
Poor Soil Drainage
Propagating in heavy, poorly draining soil can cause waterlogging, suffocating roots and leading to fungal issues.
Insufficient Light
Lack of adequate light can result in weak or leggy growth, hindering the plant's establishment and development.
Ignoring Temperature Requirements
Exposing the plant to unsuitable temperatures can stress or kill cuttings, affecting their ability to root and thrive.
Advice for Propagating Parry Ceanothus
Use Well-Draining Soil
Ensure the soil mix drains well to prevent water from pooling around the roots.
Moderate Watering
Water sparingly, allowing the soil to dry slightly between waterings to prevent root rot.
Provide Adequate Light
Place the plant in a location with bright, indirect light to support healthy growth and robust rooting.
Control Temperature
Maintain a stable, appropriate temperature range to promote successful rooting and minimize plant stress.


