How to Propagate Reflexed sedge?
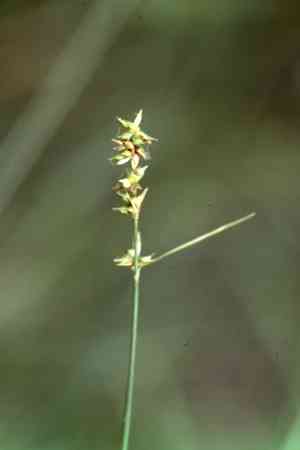
Carex retroflexa, a perennial sedge, thrives in garden environments. For reproduction, dividing the plant in early spring yields good results. Gently excavate the specimen, detach the rhizomes, making sure each segment possesses roots, and promptly re-embed them. Ensure the soil remains damp and shield from harsh elements to guarantee successful rooting. This technique fosters vigorous development and retains the plant's unique traits, positioning it as an excellent option for enriching garden ecosystems.
Optimal Period for Propagating Reflexed Sedge
Propagation Method
Division
Propagation Period
Spring,Autumn
Tools Utilized for Reflexed Sedge Propagation
Hand Trowel
A hand trowel is crucial for excavating around reflexed sedge clumps. Its compact size allows for precise separation of plant sections without harming the roots, promoting healthier propagation units.
Garden Fork
A garden fork is perfect for loosening the soil surrounding reflexed sedge prior to division. This implement aids in lifting the plant clump without root breakage, ensuring better establishment of new plants.
Sharp Knife or Hori Hori
A sharp knife or a Hori Hori (a versatile blade) is employed to cleanly sever the root ball of reflexed sedge. Clean cuts minimize stress and disease in the separated segments, contributing to successful propagation.
Pruning Shears
Pruning shears are used to trim any damaged or overgrown foliage before and after the division of reflexed sedge. Maintaining tidy foliage reduces plant stress and enhances root recovery.
Rooting Hormone (optional)
Rooting hormone can be applied to the cut surfaces of reflexed sedge to encourage quicker and stronger root development. While not always essential, it can boost success rates in challenging environments.
Watering Can with Fine Rose
A watering can with a fine rose ensures gentle irrigation of the newly planted divisions of reflexed sedge. Gentle watering prevents soil compaction and promotes healthy root establishment without displacing soil.
How to Propagate Reflexed Sedge?
Propagation Difficulty
Easy
Post-Propagation Care for Your Reflexed Sedge
Post-Propagation Care for Your Reflexed Sedge
To care for reflexed sedge after propagation, ensure consistent watering to keep the soil moist but not saturated. Apply a balanced, slow-release fertilizer in the spring to support growth. Regular mulching will help retain soil moisture and control weeds. Trim back old or damaged foliage to encourage new growth and maintain plant health. Monitor for pests or diseases and address them promptly if issues arise.
Common Errors to Avoid When Propagating Reflexed Sedge
Overwatering
Excessive moisture can lead to root rot and fungal issues, harming the plant's health and significantly reducing propagation success.
Insufficient Light
Inadequate light prevents the plant from efficiently performing photosynthesis, which is vital for healthy growth and propagation.
Poor Soil Drainage
Using soil that retains too much water can cause root diseases and hinder growth.
Incorrect Soil pH
Using soil that is too acidic or alkaline can impede nutrient absorption, affecting the plant's overall health.
Using Unhealthy Cuttings
Propagating from diseased or weak cuttings can result in poor establishment and growth.
Advice for Propagating Reflexed Sedge
Utilize Well-Draining Soil
Ensure the soil mixture allows for proper drainage to prevent waterlogging and root diseases.
Provide Ample Light
Position reflexed sedge in a spot where it receives sufficient indirect sunlight to encourage healthy growth.
Monitor Watering
Water the plant only when the topsoil feels dry to the touch to prevent overwatering.
Check Soil pH
Maintain a neutral to slightly acidic soil pH to facilitate optimal nutrient uptake.
Select Healthy Cuttings
Choose strong, disease-free cuttings for propagation to ensure robust initial growth.


