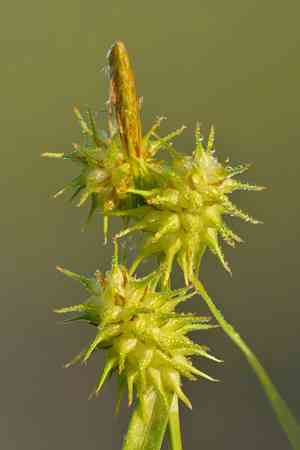
How to Propagate Yellow sedge?
Yellow sedge flourishes when multiplied via separation, a technique perfectly aligned with its developmental patterns. For effective propagation, divide yellow sedge during its period of vigorous growth. Gently detach the rhizomes, making sure every new segment possesses robust roots and emerging foliage. This strategy not only aids in preserving the plant's well-being but also fosters more abundant and lively development.
Optimal Period for Yellow Sedge Propagation
Propagation Method
Splitting
Propagation Period
Spring,Fall
Tools for Yellow Sedge Propagation
Spade or garden fork
A spade or garden fork is crucial for carefully extracting yellow sedge from the ground without harming its root system. The broad, flat surface of a spade offers leverage to gently lift the plant, while a fork's tines can help loosen soil and untangle roots without excessive damage. This is particularly beneficial for yellow sedge, as its root systems must remain intact for successful division.
Sharp knife or shears
A sharp knife or shears are used to make clean cuts through the yellow sedge's root ball, ensuring each plant section retains a portion of the root system during division. Clean cuts are vital for preventing infections and promoting faster recovery and regrowth. Tools must be sanitized before use to minimize disease transmission risk.
Watering can or hose with a gentle nozzle
After transplanting, gentle watering is essential for yellow sedge to establish in its new location. A watering can or a hose with a gentle nozzle allows for precise water flow control, ensuring the soil is moistened without being washed away or overly compacted. Proper hydration is crucial for newly divided plants to recover and avoid stress.
Rooting hormone (optional)
While not always necessary, applying a rooting hormone can enhance the success rate of propagated yellow sedge by stimulating root growth and development. This is especially useful for weak or small divisions, giving them the best chance to establish and thrive.
Plant labels and marker
Utilize plant labels and a marker to keep track of newly propagated yellow sedge plants, noting the division date and any other pertinent care information. This organization is vital for proper maintenance and monitoring of plant health during critical early developmental stages.
How to Propagate Yellow Sedge?
Propagation Type
Simple
Caring for Newly Propagated Yellow Sedge
Caring for Newly Propagated Yellow Sedge
After propagating yellow sedge, maintain consistent soil moisture, as yellow sedge thrives in damp to wet conditions. Apply mulch around the plant bases to retain moisture and suppress weeds. Yellow sedge prefers partial sun to light shade, so ensure the location provides appropriate light. Monitor plants for signs of stress or pests and address issues promptly to keep yellow sedge healthy and vibrant.
Common Errors to Avoid When Propagating Yellow Sedge
Incorrect Soil Mixture
Using a soil mix that drains poorly or lacks nutrients can lead to waterlogging or nutrient deficiencies in yellow sedge.
Excessive Watering
Since yellow sedge typically thrives in moist conditions, there's a common misconception that more frequent watering enhances growth. However, too much water can lead to root rot.
Neglecting Rhizome Health
Failing to properly inspect or separate rhizomes can result in planting diseased or damaged sections, reducing propagation success.
Tips For Propagating Yellow Sedge
Use Appropriate Soil
Employ a well-draining, fertile soil mix to support the health and growth of yellow sedge's roots without causing waterlogging.
Moisture Control
Ensure that the soil remains consistently moist but not waterlogged to promote optimal growth conditions.
Careful Rhizome Division
When dividing rhizomes for propagation, make sure to cut healthy, disease-free sections. Each section should have at least one growth point for successful regeneration.


