How to Propagate Back's sedge?
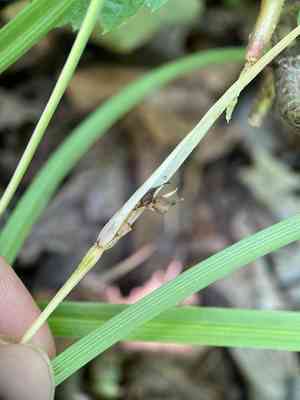
Back's sedge flourishes when multiplied via separation, a technique perfect for preserving its vigor and fostering strong development. For optimal results, gently divide the groupings in early spring, ensuring each portion retains sufficient root mass to facilitate successful rooting. This approach not only revitalizes mature clumps but also aids in regulating back's sedge's expansion within a garden environment, rendering it a sensible option for increasing back's sedge's footprint or managing its size in landscape plans. Focus on sustaining adequate soil dampness and offering partial shade, which aids the recuperation and development of newly transplanted specimens.
When Is the Optimal Time to Propagate Back's Sedge?
Method of Propagation
Splitting
Propagation Period
Spring,Autumn
What Implements Are Utilized for Back's Sedge Propagation?
Sharp blade or garden clippers
A keen blade or garden clippers are crucial for making clean cuts through the root mass of back's sedge during the splitting process. Employing a sharp tool minimizes harm to the roots, facilitating quicker recovery and lessening the chance of disease entry.
Spade or digging fork
These implements are employed to carefully lift back's sedge from the ground without unduly disturbing nearby plants. A spade or digging fork aids in gently separating the soil and easing the plant out, which is vital for keeping the root system intact for successful propagation.
Gardening gloves
Wearing gardening gloves safeguards hands from potential irritants on the plant or in the soil, and also prevents unintentional damage to the plant's delicate roots during handling.
Watering can or hose with a gentle spray setting
Following replanting, back's sedge requires gentle watering to help settle the soil around the roots and provide essential hydration. A watering can or hose with a gentle spray setting ensures even water distribution and does not disrupt the newly planted divisions.
How to Propagate Back's Sedge?
Propagation Type
Simple
How to Nurture Your Newly Propagated Back's Sedge?
How to Nurture Your Newly Propagated Back's Sedge?
Once back's sedge has been propagated and established in its new location, continue to irrigate regularly, especially during dry spells. Ensure the plant receives partial to full sun, mimicking its natural environment. Occasionally, apply a thin layer of compost or a balanced fertilizer to encourage robust growth. Additionally, monitor for any indications of pests or diseases and take appropriate measures if necessary. Trimming dead or damaged foliage will also help to stimulate fresh growth and maintain the plant's overall vitality.
Common Errors to Avoid When Propagating Back's Sedge
Excessive Watering
Overwatering can lead to root rot in back's sedge, which possesses shallow root systems vulnerable to surplus moisture. This impairs the plant's capacity to absorb nutrients effectively, potentially resulting in stunted development or even demise.
Deep Planting
Placing back's sedge's rhizomes or seedlings too deeply can impede their proper emergence. This can significantly impact the survival rate and growth of new plants, as they struggle to reach the soil surface and access sufficient light.
Neglecting Soil Conditions
Utilizing a soil mix that doesn't drain adequately or isn't suitable for the specific needs of back's sedge can hinder successful propagation. Poor soil conditions can lead to nutrient deficiencies and inhibit root development.
Advice For Propagating Back's Sedge
Proper Soil Preparation
Ensure the soil is well-draining and rich in organic matter to support the growth of back's sedge. This environment emulates back's sedge's natural habitat and provides the necessary foundation for root development.
Shallow Planting
Plant the rhizomes or seedlings of back's sedge superficially, just beneath the soil surface. This allows for easier sprouting and reduces the risk of the plantings being too deep to properly grow.
Moderate Watering
Provide back's sedge with moderate, consistent irrigation to keep the soil moist but not waterlogged. Ensuring optimal moisture levels will support healthy growth without the risk of root diseases.



