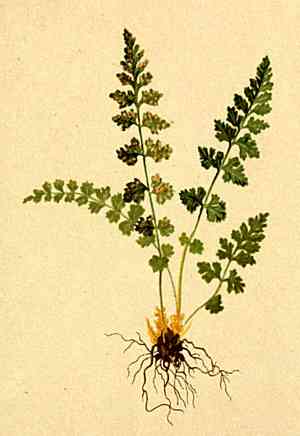
How to Propagate Wild birdnest fern?
Asplenium nidus flourishes optimally in dimly lit settings characterized by elevated humidity and continuous dampness. Verify that the substrate offers excellent drainage while remaining nutrient-rich. To propagate, employ the division technique by gently detaching root masses when transplanting, ensuring every segment possesses its own root system. Sustain a consistent atmosphere and adequate humidity to foster robust development. Steer clear of direct solar exposure and uphold temperate conditions.
Optimal Period for Wild Birdnest Fern Propagation
Propagation Method
Division
Propagation Period
Spring,Autumn
Tools Required for Wild Birdnest Fern Propagation
Spade or Garden Fork
A spade or garden fork is crucial for carefully excavating around the base of wild birdnest fern to lift it from the ground without harming the root structure. This tool ensures effective access to the plant's roots for the division process.
Sharp Knife or Pruning Shears
A sharp knife or pruning shears are necessary for cleanly separating the rhizomes of wild birdnest fern. Precise cuts help minimize infection risk and ensure each division has an adequate root system for successful replanting.
Rooting Hormone
Applying rooting hormone to the cut sections of wild birdnest fern can boost root development and increase the likelihood of successful propagation. This is especially beneficial for ensuring the vitality of newly divided plants.
Sterile Potting Medium
Utilizing a sterile potting medium, such as sphagnum moss or a fern-specific soil blend, offers a nutrient-rich environment that supports the growth of the divided plants. Sterility aids in preventing disease and pest infestations.
Watering Can with Fine Rose
A watering can with a fine rose is important for gently irrigating the divided sections of wild birdnest fern without disturbing the soil or delicate new roots. Consistent moisture levels are vital for the establishment of new plants.
Humidity Dome or Plastic Bag
Maintaining elevated humidity levels is essential for the newly propagated wild birdnest fern. A humidity dome or a plastic bag placed over the plant creates a microenvironment that retains moisture, promoting faster root and shoot development.
Clean Workbench or Potting Area
A clean workbench or potting area helps reduce the chance of contaminating the divisions with soil-borne diseases or pests. Ensuring all tools and surfaces are clean before propagation is crucial for the health of wild birdnest fern.
How to Propagate Wild Birdnest Fern?
Propagation Type
Easy
Caring for Your Newly Propagated Wild Birdnest Fern
Caring for Your Newly Propagated Wild Birdnest Fern
Post-propagation, maintain consistent soil moisture, avoiding both dryness and saturation. Periodically mist the plant to replicate its natural humid habitat. Keep temperatures between 60-75°F (15-24°C) and prevent cold drafts. Fertilize monthly during the growing season with a balanced, diluted liquid fertilizer for healthy development.
Common Errors to Avoid When Propagating Wild Birdnest Fern
Overwatering
Excessive watering can lead to root rot and fungal problems, which can harm the delicate root system of wild birdnest fern.
Poor Drainage
Using soil that retains too much water can result in waterlogged roots, causing suffocation and decay.
Improper Light Conditions
Exposing wild birdnest fern to direct sunlight can scorch its fronds, while insufficient light can hinder growth.
Incorrect Humidity Levels
Low humidity environments can cause the fronds of wild birdnest fern to dry out and become brittle.
Incorrect Temperature
Exposing wild birdnest fern to cold drafts or temperatures below its tolerance can lead to stress and impede propagation.
Tips For Propagating Wild Birdnest Fern
Adequate Watering
Ensure the soil is moist but not waterlogged. Wait until the top layer of soil feels slightly dry before rewatering.
Well-Draining Soil
Use a soil mix that includes peat, perlite, and orchid bark to ensure proper drainage and aeration.
Indirect Light
Place wild birdnest fern in a location with bright, indirect light to mimic its natural habitat.
Maintain Humidity
Keep humidity levels high, around 60-80%, using a humidifier or a water tray with pebbles.
Stable Temperature
Maintain a warm environment with temperatures above 60°F, avoiding cold drafts to reduce stress.


