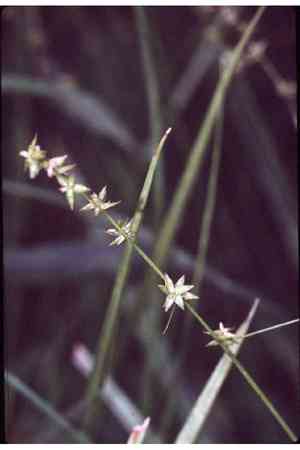
How to Propagate Inland sedge?
Inland sedge flourishes when multiplied through separation, a technique that aligns with its inherent clumping growth pattern. Beginning with a vigorous mature specimen, utilize its intricate root system to carefully divide it into several sturdy portions, making sure each possesses adequate roots and nascent shoots for successful relocation. It is crucial to reduce root disruption and protect from intense sunlight immediately following replanting, fostering faster integration and robust development.
Optimal Time for Inland Sedge Propagation
Propagation Method
Splitting
Propagation Period
Spring,Autumn
Tools for Inland Sedge Propagation
Sharp Knife or Pruning Shears
Crucial for making clean cuts through the root ball of inland sedge during the division process. A keen edge ensures precise incisions, minimizing root damage and promoting faster healing, thereby reducing disease risk.
Spade or Garden Fork
Utilized for gently extracting inland sedge from the ground. These implements aid in loosening the soil surrounding the roots, allowing for easier and safer plant removal without excessive disruption to the root structure.
Potting Mix
Offers an appropriate growing medium for newly divided inland sedge. The mixture should drain well yet retain moisture to meet the needs of inland sedge, which thrives in damp conditions.
Watering Can with a Fine Rose
Ensures gentle irrigation of inland sedge divisions, preventing soil displacement around newly planted sections while providing adequate moisture essential for root establishment.
Rooting Hormone (optional)
Though not strictly required, applying a rooting hormone to the cut surfaces of inland sedge can boost root development and establishment, particularly beneficial for weaker or less robust divisions.
How to Propagate Inland Sedge?
Propagation Type
Simple
Caring for Your Newly Propagated Inland Sedge
Caring for Your Newly Propagated Inland Sedge
Ensure consistent moisture, as inland sedge flourishes in damp environments. Avoid allowing the soil to completely dry out, especially during the initial growing season post-propagation. While inland sedge can endure partial shade, it performs best in full sun to partial shade with well-draining, organic-rich soil. Consider applying a mulch layer around new divisions to retain moisture and suppress weeds. Regular inspection for pests and diseases, coupled with timely interventions, will guarantee vigorous growth and longevity for the plant.
Common Errors to Avoid When Propagating Inland Sedge
Excessive watering during initial stages
Too much moisture can lead to root rot for inland sedge, particularly when roots are attempting to establish in a new setting. This impairs the plant's ability to absorb nutrients and stabilize.
Using an unsuitable soil mix
Selecting a dense or poorly draining soil mix can suffocate the root systems of inland sedge, hindering growth and increasing susceptibility to disease.
Propagation from inappropriate plant parts
Attempting to propagate inland sedge from leaf cuttings instead of divisions or seeds can be ineffective, as inland sedge does not readily produce new growth from leaves.
Tips For Propagating Inland Sedge
Utilize sharp and sterile tools for division
This prevents infection and ensures clean cuts, promoting healthier and more effective root regeneration when dividing inland sedge.
Maintain high humidity and stable temperatures
Creating a consistent microclimate with controlled humidity and temperature helps inland sedge's cuttings or seeds establish more successfully, encouraging robust growth.
Gradual acclimatization post-propagation
Slowly introducing inland sedge to less controlled environments aids in strengthening the plant's resilience before moving to a final outdoor location, reducing transplant shock.


