How to Propagate Nodding sedge?
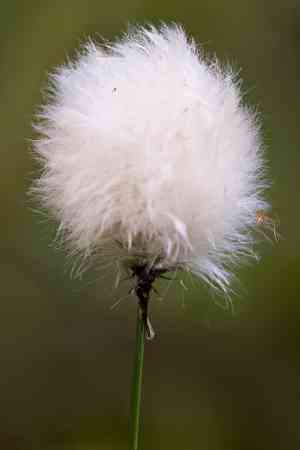
Carex pendula, a member of the Carex family, is most effectively multiplied by splitting. Gently excavate the specimen and divide the clusters, making sure each segment retains its root system and emerging foliage. Promptly re-establish the separated portions, allowing ample room between them to prevent excessive density. This technique fosters vigorous new development by utilizing the plant's inherent hardiness. Verify that the substrate is damp yet drains efficiently to maximize favorable outcomes.
What Is the Best Time To Propagate Nodding Sedge?
Propagation Type
Splitting
Propagation Season
Spring,Autumn
What Tools Are Used in Nodding Sedge Propagation?
Gardening Gloves
Shields hands from dirt and potential harm when handling nodding sedge. Ensures safe splitting and planting.
Spade or Garden Fork
Crucial for lifting and separating nodding sedge clumps from the ground. Helps minimize root damage during extraction.
Sharp Knife or Garden Scissors
Utilized for precisely cutting and dividing the root mass of nodding sedge. Sharp tools ensure clean cuts, reducing stress and promoting healthier regrowth.
Root Wash or Hose
A gentle spray aids in removing soil from roots, allowing for better identification of natural division points. Ensures clean division with minimal root damage.
Potting Containers
Temporary receptacles for divided nodding sedge sections. Needed to re-establish roots before replanting in the ground.
High-Quality Potting Mix
Offers optimal soil conditions for new divisions of nodding sedge to root and grow. Mix should be well-draining yet moisture-retentive.
Watering Can or Hose
Ensures divided sections of nodding sedge are adequately hydrated during and after the propagation process. Consistent moisture is critical for establishing new divisions.
Labels or Markers
Helps in keeping track of different divisions and planting dates. Useful for monitoring progress and ensuring proper care schedules.
How to Propagate Nodding Sedge?
Propagation Type
Simple
How to Care for Your Newly Propagated Nodding Sedge?
How to Care for Your Newly Propagated Nodding Sedge?
Post-propagation, closely observe new plants for signs of stress or transplant shock. Keep soil consistently moist but not waterlogged, especially in the initial weeks. Mulch around plant bases to retain moisture and deter weeds. Gradually introduce new plants to full sun (if applicable) by slowly increasing exposure. Lightly fertilize with a balanced, slow-release product during the growing season to encourage healthy growth. Regularly check for pests and diseases, addressing issues promptly.
Common Mistakes to Avoid When Propagating Nodding Sedge
Overwatering
Excessive moisture can lead to root rot and fungal diseases, hindering growth.
Poor Soil Drainage
Heavy, clay-rich soils can suffocate roots and prevent proper drainage, causing poor plant establishment.
Incorrect Soil pH
Using soil with the wrong pH can limit nutrient absorption, affecting plant health.
Overcrowding
Planting too many specimens too close together can lead to competition for nutrients and light, reducing growth rates.
Improper Light Conditions
Insufficient or excessive sunlight can stunt growth or cause leaf burn.
Tips For Propagating Nodding Sedge
Adequate Watering
Ensure consistent moisture levels without waterlogging to maintain healthy root development.
Well-Draining Soil
Use soil that allows excess water to drain away to prevent root rot and promote healthy growth.
Proper Soil pH
Maintain a slightly acidic to neutral pH for optimal nutrient uptake.
Sufficient Spacing
Space plants adequately to allow for optimal air circulation and resource availability.
Appropriate Light
Provide partial to full sun exposure to encourage robust growth without causing leaf damage.



