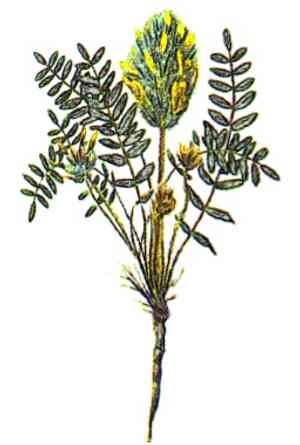
How to Propagate Basalt milkvetch?
Basalt milkvetch, recognized for its capacity to fix nitrogen, flourishes in porous, sandy substrates. For propagation, plant seeds directly into the ground and ensure continuous hydration. Gently abrade the seeds to boost their sprouting success. This flora benefits from the introduction of particular rhizobacteria to foster its development. Employing superior horticultural methods will guarantee vigorous growth. Exercise caution when relocating young plants to prevent damage to their root systems.
Optimal Time for Basalt Milkvetch Propagation
Propagation Method
Seeding
Propagation Period
Spring
Tools for Basalt Milkvetch Propagation
Seed Trays
Seed trays are crucial for initiating basalt milkvetch from seeds. They offer a controlled setting for sprouting and initial development. Utilize trays with adequate drainage to prevent waterlogging and ensure root oxygenation.
Seedlings Heat Mat
A heat mat maintains a steady soil temperature, vital for basalt milkvetch seed germination. Consistent warmth promotes quicker and more uniform sprouting.
Humidity Dome
Humidity domes help maintain elevated humidity levels around seeds and young plants, reducing desiccation risk and ensuring a suitable microclimate for germination and early growth.
Well-draining Potting Mix
A specialized, well-draining potting mix supports healthy root growth and prevents basalt milkvetch seedlings from sitting in water, thereby reducing root rot risk. This mix often includes components like perlite, vermiculite, or sand.
Watering Can with Fine Rose
A watering can with a fine rose attachment ensures a gentle water flow, preventing displacement of basalt milkvetch seeds and damage to delicate seedlings while providing sufficient moisture.
Labeling Stakes
Labeling stakes are essential for tracking basalt milkvetch seedlings, especially when propagating various plant types. They help prevent confusion and ensure accurate monitoring of growth stages.
Propagation Trays with Cover
These trays create a mini-greenhouse effect, providing warmth and humidity. They are particularly beneficial for nurturing basalt milkvetch in the early stages after germination, promoting robust growth.
Fine-mesh Strainer
Strainers can be used to sift through soil or growing medium to ensure it's free of large particles that might hinder the germination of small basalt milkvetch seeds.
How to Propagate Basalt Milkvetch?
Propagation Difficulty
Simple
Caring for Newly Propagated Basalt Milkvetch
Caring for Newly Propagated Basalt Milkvetch
Post-germination, gradually expose seedlings to direct sunlight through a hardening-off process. Transplant seedlings into a well-draining garden bed or larger pots once they develop two to three true leaves. Continue to ensure well-draining soil, moderate watering, and ample sunlight. Protect young plants from extreme temperatures and pests, and monitor for signs of water stress or nutrient deficiencies.
Common Propagation Errors for Basalt Milkvetch
Improper Seed Handling
Failure to correctly handle and store seeds can lead to reduced germination rates, as basalt milkvetch seeds may quickly lose viability if not stored properly.
Incorrect Soil Composition
Using poorly draining soil can cause root decay. Basalt milkvetch thrives in well-draining soil.
Insufficient Scarification
Not scarifying seeds can impede germination as basalt milkvetch has a hard seed coat that needs breaking or softening for successful sprouting.
Overwatering
Providing too much water can lead to root rot and fungal issues. Basalt milkvetch is adapted to arid conditions, and excessive moisture can be harmful.
Ignoring Light Requirements
Placing seedlings in low light conditions can hinder their growth. Basalt milkvetch requires abundant sunlight to flourish.
Tips For Propagating Basalt Milkvetch
Proper Seed Storage
Store seeds in cool, dry conditions to maintain their viability until planting.
Correct Soil Mix
Use a sandy, well-draining soil mix to mimic its natural habitat and prevent root rot.
Scarification
Scarify seeds before planting. This can be done by lightly nicking the seed coat with a knife or soaking them in warm water overnight.
Watering Techniques
Water sparingly and ensure proper drainage. Allow the soil to dry out between watering sessions to prevent fungal diseases.
Sufficient Light
Place seedlings in a sunny location to ensure they get enough light for healthy growth.
Temperature Monitoring
Maintain moderate temperatures, avoiding extreme cold or heat to assist in optimal seed germination and seedling development.


