How to Propagate Painted trillium?
Painted trillium flourishes most effectively when reproduced via separation. For successful development, it is essential to meticulously separate the rhizomes, preferably when the plant is not actively growing. Every section must possess at least one budding point. These separations enable the plant to become established more efficiently, preserving the well-being of the original plant while encouraging new development. Efforts should be made to reduce root disruption throughout this procedure.
Optimal Time for Painted Trillium Propagation
Propagation Method
Division
Propagation Period
Spring,Autumn
Tools for Propagating Painted Trillium
Garden Spade or Fork
These implements are crucial for the division process of painted trillium. Their sharp, robust blades are perfect for digging around the plant, minimizing harm to the root system. A garden spade or fork assists in carefully lifting the plant from the soil, ensuring roots remain as intact as possible, which is vital for the successful establishment of divided sections.
Pruning Shears
Sharp, clean pruning shears are essential for trimming any damaged roots or foliage during the division of painted trillium. They facilitate precise cuts, preventing potential entry points for disease. This tool is also utilized to appropriately size plant sections, promoting healthier, more manageable growth after propagation.
Rooting Hormone
Though not a tool in the conventional sense, rooting hormone is key for encouraging root development in divided sections of painted trillium. Applying a rooting hormone to freshly cut root parts can significantly enhance root growth and aid in the quicker establishment of new plants.
Watering Can with a Fine Rose
Following the replanting of painted trillium divisions, gentle and thorough watering is imperative. A watering can equipped with a fine rose attachment provides a soft, even water distribution that does not disturb the newly planted sections, fostering optimal moisture levels for root establishment.
How to Propagate Painted Trillium?
Propagation Difficulty
Easy
Caring for Newly Propagated Painted Trillium
Caring for Newly Propagated Painted Trillium
After propagating painted trillium, maintain a cool, shaded environment similar to its natural woodland habitat. Avoid direct sunlight and keep the soil consistently moist, but not waterlogged. Painted trillium may take several years to bloom post-division, so patience is crucial. Lightly mulch with organic material to help retain moisture and provide nutrients as it breaks down. Monitor for slugs and other pests that might harm young shoots.
Common Errors to Avoid When Propagating Painted Trillium
Overwatering
Excessive watering can lead to root rot in painted trillium, as its roots require well-draining soil conditions. Too much moisture can suffocate the plant's roots, hindering their ability to absorb nutrients effectively.
Excessive sunlight
Painted trillium naturally thrives in partial shade and is not adapted to prolonged direct sunlight, which can cause leaf scorch and reduce overall vigor.
Inadequate soil composition
Using an incorrect soil mix that does not mimic painted trillium's native forest floor habitat can impede its growth. Highly fertile or overly sandy soils can be detrimental, impacting nutrient absorption and root development.
Tips for Propagating Painted Trillium
Use of healthy mother plants
Ensure the parent specimen is robust and free from disease. This increases the likelihood of successful propagation, as healthier plants naturally possess superior root systems and are more prone to producing viable seeds or root divisions.
Division method
Carefully divide painted trillium by gently separating the rhizomes, ensuring each division has at least one growth bud. This technique preserves the genetic consistency of the species and helps manage plant size.
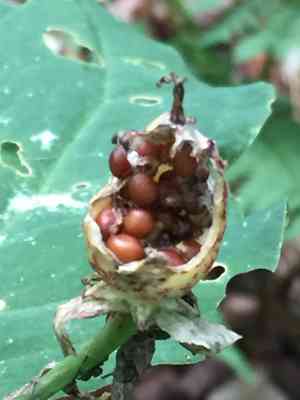
Seed stratification
For seed propagation, replicate painted trillium's natural germination conditions by stratifying the seeds to break dormancy. This involves a period of cold and moist treatment, mimicking winter conditions to encourage spring germination.


