How to Propagate Dill?
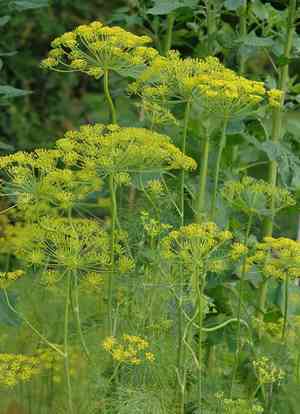
Dill reproduces most successfully by planting seeds in the springtime. This process is quite straightforward, with robust seedling sprouting indicating success. Provide sufficient distance between plants and refrain from excessive watering to achieve peak development.
Optimal Time for Dill Propagation
Propagation Method
Seeding
Propagation Period
Spring
Tools for Dill Propagation
Seed Trays or Flats
Seed trays or flats offer an organized space for planting dill seeds. These containers provide ample room for seeds to spread, preventing congestion that could lead to disease or poor growth. Their shallow design allows for easy monitoring and control of soil moisture, which is crucial for dill seed germination.
Fine Seed Starting Mix
A fine seed starting mix is vital for dill seeds, providing a loose, well-draining medium that supports proper root development and air circulation. A light and nutrient-rich mix aids the delicate initial growth phases of dill.
Misting Bottle or Fine Spray Nozzle
A misting bottle or a hose attachment with a fine spray nozzle ensures gentle watering that won't displace or bury tiny dill seeds. Uniform moisture distribution is key for dill germination, and these tools help maintain ideal soil humidity without causing erosion.
Clear Plastic Dome or Wrap
Covering seed trays with a clear plastic dome or wrap creates a humid microclimate, preventing dill seeds from drying out. This method encourages faster germination by retaining warmth and moisture, mimicking a mini-greenhouse effect.
Heat Mat
A heat mat is especially beneficial for dill, as it provides consistent bottom heat that can enhance germination rates. Dill seeds sprout best at temperatures between 60-70\u00b0F (15-21\u00b0C), and a heat mat can maintain this optimal range, particularly in cooler climates.
Dibber or Toothpick
A dibber or toothpick is used to create shallow indentations in the seed starting mix for sowing dill seeds at the correct depth. The small size of dill seeds necessitates precise placement to avoid planting them too deeply, which could hinder germination.
Labels and Marker
Labels and a permanent marker are essential for noting the planting date and identifying dill plants as they grow. Proper labeling helps track progress and distinguish dill from other plants in a shared propagation area.
How to Propagate Dill
Propagation Method
Seeding
Difficulty Level
Easy
Caring for Newly Propagated Dill
Caring for Newly Propagated Dill
Post-propagation, ensure dill receives at least six hours of daily sunlight and regular watering, keeping the soil moist but not waterlogged. Fertilize with a balanced liquid fertilizer every 4-6 weeks. Monitor for pests and diseases, applying appropriate control methods if needed. Harvest dill leaves as required, cutting close to the stem to promote bushier growth. Avoid excessive harvesting of the main stem to extend the plant's lifespan.
Common Errors to Avoid When Propagating Dill
Overcrowding seeds
Planting dill seeds too close together can restrict airflow and proper growth, leading to fungal issues and poor development.
Overwatering
Excessive water can cause dill seeds and seedlings to rot, as they prefer consistent moisture but not waterlogged conditions.
Deep sowing
Dill seeds need light to germinate, and planting them too deeply can result in germination failure or weak seedlings.
Neglecting to thin
Failure to thin dill seedlings can lead to competition for resources and weaker plants overall.
Underwatering
Dill seeds and seedlings require consistent moisture, and insufficient watering can cause them to dry out and perish.
Ignoring pest control
Dill can attract certain pests, and neglecting pest control can lead to infestations that impede growth and propagation.
Tips for Propagating Dill
Correct spacing
Provide adequate space between dill seeds when planting to ensure they have room to grow and access to sufficient nutrients and air.
Appropriate watering
Maintain evenly moist but well-drained soil conditions to balance moisture needs and prevent root rot for dill seedlings.
Shallow sowing
Plant dill seeds just beneath the soil surface to ensure they receive the necessary light for successful germination.
Thinning seedlings
Thin dill seedlings early to encourage robust growth and prevent overcrowding, which can result in weaker plants.
Consistent soil moisture
Regularly check soil moisture and water dill as needed to prevent it from drying out, especially during germination and early growth stages.
Pest monitoring
Regularly inspect dill plants for signs of pests and apply appropriate organic controls to maintain healthy plants.


